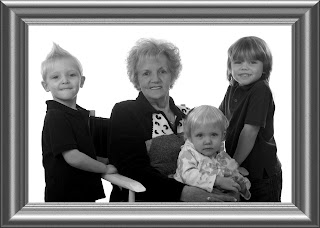
Rembrandt? But I am not a painter!
There are many different ways to light your studio portraits. I want to cover some of the more popular ones, as well as how to employ them in your photography.Rembrandt Lighting - Rembrandt lighting when properly employed will result in a triangle forming under the eye of the subject, on the shadow side of the face. Depending on how much contrast you want in the shot you can use a reflector on the shadow side or nothing at all.
Typically you would set your main light at a 45% angle to your subject and if you are using a reflector you would set that up opposite of the main light to fill the shadows. Adjust the lights as you need to in order to get the desired look.
Butterfly Lighting - Butterfly lighting creates the shape of butterfly shadow directly beneath the nose. To create this type of light the nose should point in the direction of the light. The light should be elevated high enough to cast a downward shadow. I typically use only the hair light and set it above the head pointing at the subjects face and adjust the intensity based on how heavy I want the shadow.
Flat Lighting - This type of lighting is when there are no shadows on the faces of the subject. It is commonly used by studios for standard portraits. To achieve this type of lighting you set two lights at a 45% angle to your subject. I usually also add a hair and a back light to this type of shot in increase the depth of the portrait.
Low Key - This type of lighting accentuates the contours of the subjects face by creating shadows which are controlled by how much fill is used to open those shadows and control the amount of contrast. Rembrandt lighting is a type of low key lighting.
High Key - This method uses unnaturally bright lighting to blow out most or all harsh shadows in an image.
It is very effective in highlighting your subject, and is also a good way to highlight and showcase various types of products.


